General Seat Belt Inspection Awareness
A seat belt check takes about two minutes and needs no tools. This guide covers what to look at, what different kinds of wear indicate, and — importantly — which findings mean the system should go to a qualified technician rather than be judged from a web page.
 Maintenance
Restraint degradation is unusually easy to live with. A belt that retracts sluggishly still buckles. A release button that needs a firmer press still releases. A slightly frayed edge still holds when you tug it. None of these announce themselves as faults, and all of them are early stages of something that eventually matters.
That is the case for looking deliberately rather than waiting to notice. What follows is general awareness guidance — a structured way to look at a belt and understand what you are seeing. It is not a maintenance procedure for your vehicle. Your manufacturer’s schedule is the authority for your machine, and anything you are unsure about belongs with a competent technician who can examine the system directly.
The two-minute sequence
- Extract the webbing fully. Draw the belt all the way out against the retractor. Most webbing damage sits on the portion that normally stays spooled or hidden behind trim — which is exactly the portion a casual glance never reaches.
- Look along both edges. Edges wear first, because that is where webbing works against loops, guides and trim. Run the strap slowly through your fingers and watch for fraying, cuts, nicks and abrasion.
- Check colour and stiffness. Compare the exposed section against the portion normally spooled. Heavy fading can accompany prolonged sunlight exposure. Stiff, shiny or board-like patches can indicate chemical or heat exposure.
- Inspect every stitched join. Wherever webbing meets hardware. Loose, broken or unravelling stitching at a load-bearing join is significant regardless of how sound the webbing looks either side of it.
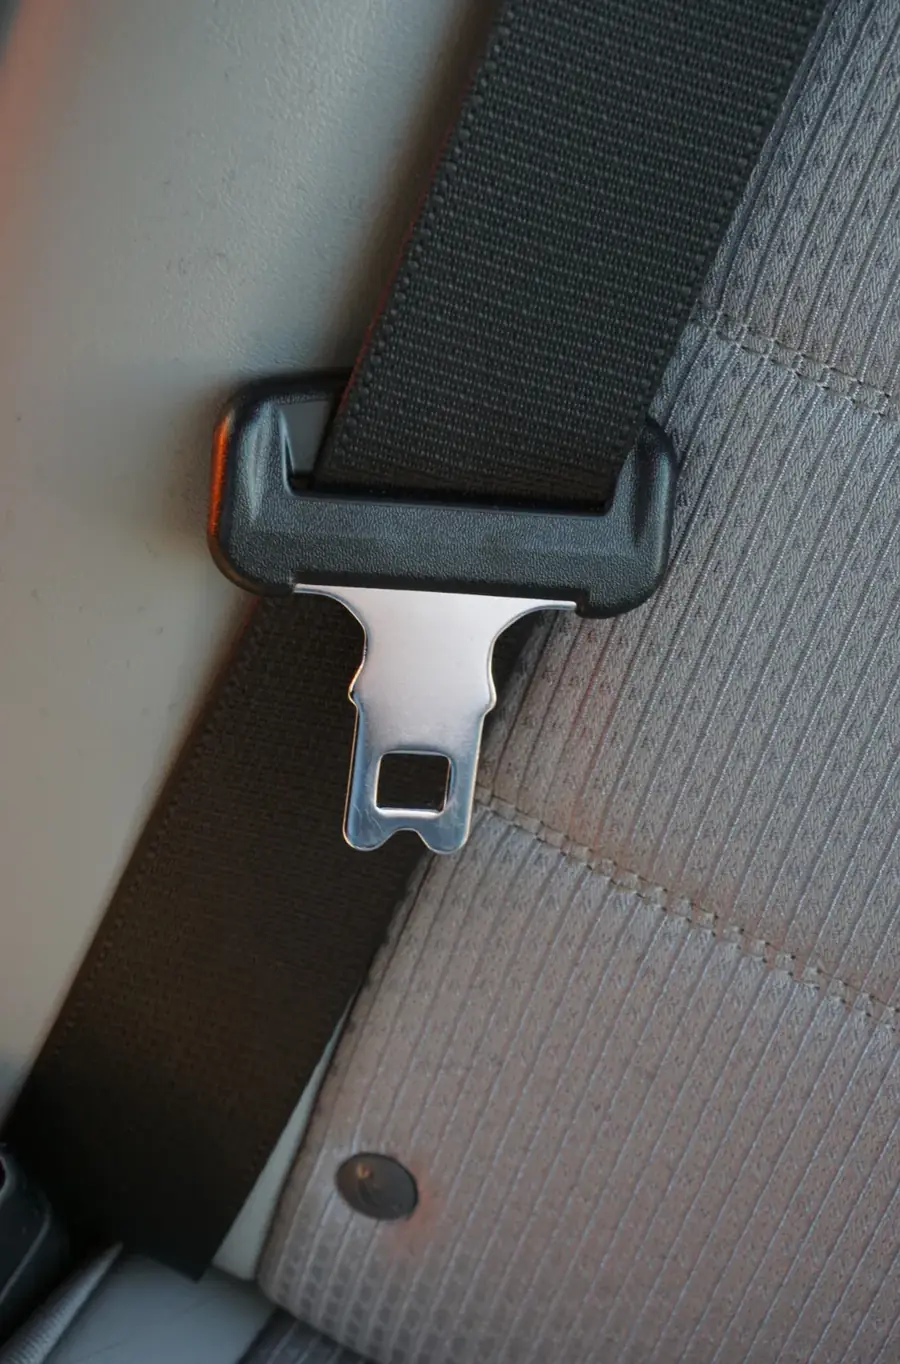
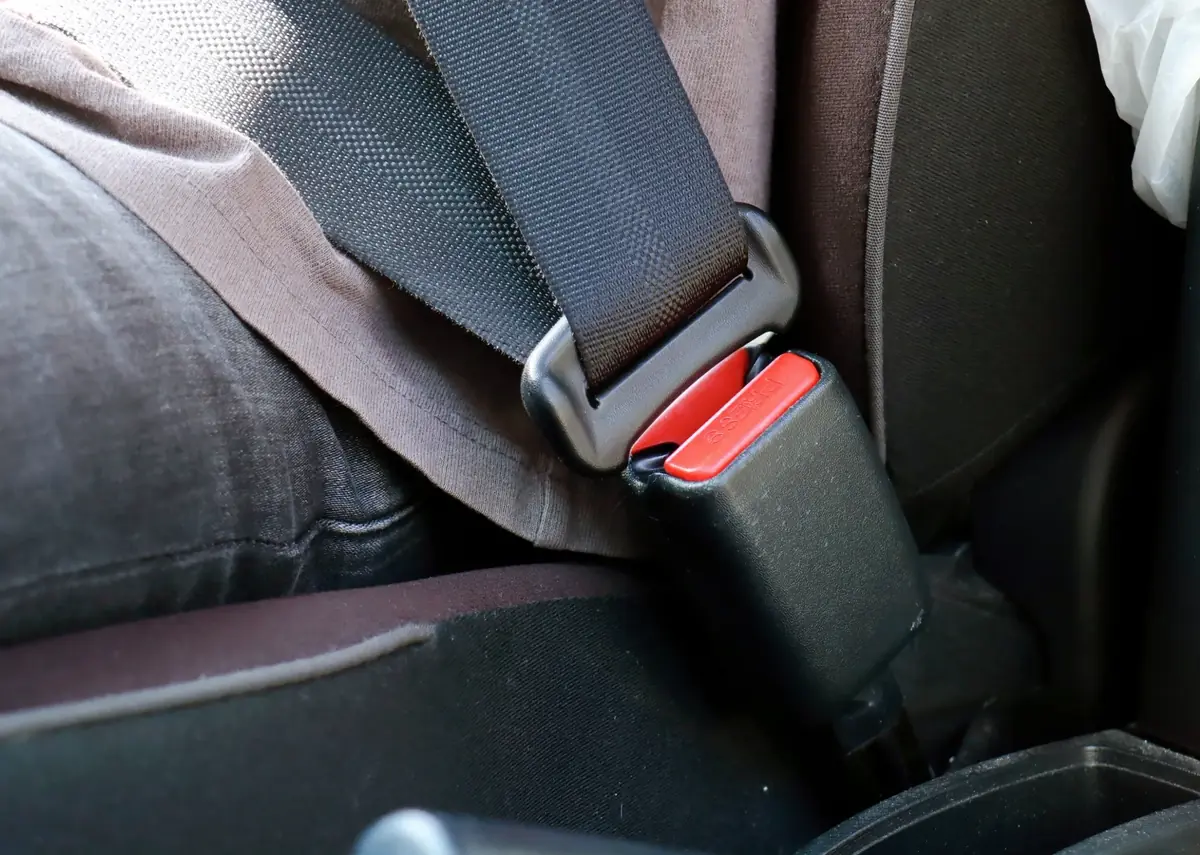
- Examine the hardware. Tongue, buckle, anchor plates, loops and any visible bolts, checking for cracks, corrosion, distortion and burrs. Confirm anchor fixings appear secure — but do not attempt to re-torque them unless you are working to the manufacturer’s specified values.
- Latch and release several times. Engagement should feel positive and identical each time. Release should take moderate, consistent force. A button needing noticeably more force than it used to is telling you something.
- Test retraction. Let the belt return unaided. It should retract fully and smoothly without needing to be guided.
- Look inside the buckle receptacle. Debris, coins and foreign objects are a surprisingly common cause of poor engagement, and one of the very few faults an owner can reasonably resolve themselves.
- Check the webbing lies flat. A twisted belt loads unevenly, drags in the loop, retracts poorly and wears along a narrow line rather than across its width.
Reading what you find
Different kinds of wear point at different causes, and knowing which is which makes the difference between fixing a symptom and fixing a problem.
| What you see | What it commonly indicates |
|---|---|
| Fraying along one edge only | Webbing running against something — a roughened loop, a trim edge, or a persistent twist |
| Fraying along both edges evenly | General service wear distributed across the strap over time |
| Localised fading or bleaching | Prolonged ultraviolet exposure at that section, often a belt habitually left extended |
| Stiff, shiny or board-like patches | Possible chemical or heat exposure affecting the fibre rather than surface soiling |
| A clean straight cut | Contact with a sharp edge — worth locating the edge as well as replacing the belt |
| Loose stitching at a join | Load-bearing join degrading; significant regardless of surrounding webbing condition |
| Increasing release-button force | Debris ingress or wear in the buckle’s locking element |
| Incomplete retraction | Weakening return spring, or drag from a worn loop, a twist or debris in the path |
| Corrosion at an anchorage | Moisture reaching a load-bearing fixing; requires proper assessment, not just cleaning |
| Scoring or burring on the tongue | Wear that degrades engagement and will abrade the webbing running on it |
Findings that warrant professional evaluation
None of the following are things to diagnose from a web page. They are signs that the system should be examined by someone qualified who can see the vehicle.
- Any cut, tear, fraying or abrasion in the webbing, however minor it appears
- Stitching that is loose, broken or unravelling at any load-bearing join
- Webbing that has become stiff, shiny, board-like or heavily faded
- A tongue that does not engage cleanly, engages inconsistently, or can be withdrawn without pressing the release
- A release button requiring noticeably more or less force than it once did
- A retractor that will not return the webbing fully, or that fails to lock under a sharp pull
- Cracked, corroded, distorted or burred hardware anywhere in the assembly
- Anchor fixings that appear loose, or mounting points showing corrosion or damage
- Any restraint that was in use during an incident, regardless of how it looks afterwards
If a restraint has been loaded in an incident, do not judge it by appearance. Follow the vehicle or equipment manufacturer’s guidance and have the system assessed by a competent technician.
How often to look
We are not going to invent an interval, because the honest answer depends on the machine and the environment. What we can offer is a way to think about it.
- The manufacturer’s schedule is the authority. Whatever the vehicle or equipment maintenance schedule specifies for restraint systems is the reference for that machine.
- Add a check to each routine service. The sequence above takes about two minutes and needs no tools, which makes it easy to build into work that is happening anyway.
- Let environment shorten the interval. Equipment operating in dust, moisture or strong sunlight warrants looking more often than a garaged passenger car does.
- Let cycle count shorten it too. A taxi belt buckled thirty times a day accumulates mechanism wear far faster than mileage alone suggests.
- Listen to the people using it. Drivers and operators notice a stiffer button or a slower return long before an inspection does. Ask them.
Habits that extend service life
None of these are dramatic. Together they make a measurable difference to how long an assembly stays in good condition.
- Guide the belt back rather than letting it snap home. Repeated hard returns wear both the mechanism and the webbing edge at the loop.
- Keep the buckle receptacle clear. Checking for debris costs nothing and prevents one of the most common engagement problems.
- Clean gently, if at all. Follow the manufacturer’s guidance. Harsh solvents, bleaches and strong detergents can affect webbing fibres, and a visibly cleaner belt is not necessarily a sounder one.
- Do not leave belts extended in direct sun. Letting them retract when the vehicle is parked reduces ultraviolet exposure on the working section.
- Correct twists as soon as you notice them. A twist that stays becomes a wear line.
- Avoid closing doors on webbing. An obvious point that nevertheless accounts for a good share of the clean straight cuts we are shown.
Frequently asked
There is no single interval that suits every vehicle and every environment, so rather than invent a number we would point you at the right source. The vehicle or equipment manufacturer’s maintenance schedule is the correct reference for your machine. As a practical habit alongside that, a short visual and functional check at each routine service is easy to build in, and equipment operating in dust, moisture or strong sunlight generally warrants looking more often.
Fraying is not something to assess by degree from a description. It indicates the load-bearing element has been compromised at that point, and it is a finding that should be evaluated by a competent technician who can see the belt. What is worth doing alongside that is identifying what caused it — a roughened loop, a sharp trim edge or a persistent twist will simply do the same thing to a replacement belt.
Follow the vehicle or equipment manufacturer’s guidance, which is the authority here. As a general principle, harsh solvents, bleaches and strong detergents can affect webbing fibres, so aggressive cleaning is not a neutral act. It is also worth remembering that a visibly cleaner belt is not necessarily a sounder one — cleaning changes appearance, not condition.
This is not a judgement to make on appearance, and it is not one we can make for you. Where a restraint has been loaded in an incident, the vehicle or equipment manufacturer’s guidance should be followed and the system assessed by a competent technician. Loading can affect components in ways that are not visible externally, which is precisely why the guidance exists.
Full, unassisted retraction. It is quick, needs no tools, and tends to degrade earlier and more noticeably than anything else. A belt that no longer returns fully is telling you either that the mechanism is tiring or that something in the webbing path is dragging — and both are worth knowing about well before they become obvious.
A note on scope
This is general explanatory material, written from working familiarity with seat belt products. It is not a repair procedure for any specific vehicle or machine. Requirements vary by vehicle and application, and users should consult relevant manufacturer guidance for their own equipment. Anything you are unsure about should be referred to a competent technician who can examine the system directly.
Related articles
 Fundamentals
What Is a Seat Belt System and How Does It Work?
Every part in the chain, what each one does, and how they behave together during normal use and sudden deceleration.
Read Article Mechanism
Understanding Seat Belt Retractors
Spool, spring and locking mechanism — why a belt pays out smoothly but grabs when tugged, and what ALR and ELR mean in practice.
Read Article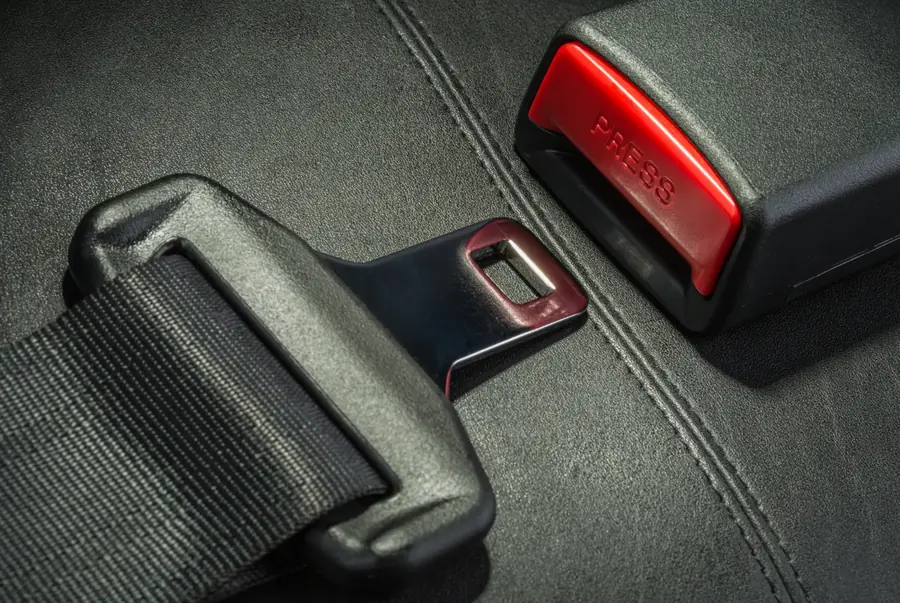 Formats
Different Types of Seat Belt Assemblies
Two-point, three-point, static and retractor formats — what each one is for, and where substituting one for another causes problems.
Read ArticleFound something on an inspection?
Send us a photograph of what you have found along with the vehicle and seat position. We will tell you what part would replace it — and be straight with you if it is a job for a technician instead.